Introduction
In this tutorial, we will walk through the process of building a blog using Next.js and Markdown. Next.js is a popular React framework that provides server-side rendering, automatic code splitting, and other powerful features. Markdown is a lightweight markup language used for creating formatted text documents. By combining Next.js and Markdown, we can create a fast and dynamic blog with a seamless writing experience. Let’s get started!
Prerequisites: Before we begin, make sure you have the following prerequisites:
- Basic knowledge of React and Next.js
- Node.js installed on your machine
- Familiarity with HTML and CSS
Step 1: Setting Up a Next.js Project To get started, let’s create a new Next.js project. Open your terminal and run the following commands:
npx create-next-app my-blog
cd my-blog
Step 2: Installing Dependencies Next, let’s install the required dependencies for our blog. We need gray-matter to parse the Markdown files, and remark and remark-html to convert Markdown to HTML. Run the following command:
npm install gray-matter remark remark-html
Step 3: Creating Markdown Files In the root of your project, create a posts directory. Inside the posts directory, create a new Markdown file with the following content:
markdownCopy code---
title: My First Blog Post
date: 2023-06-01
---

# Welcome to My Blog!

This is my first blog post. Enjoy!
Step 4: Creating the Blog Page In the pages directory, create a new file called blog.js. In this file, let’s create a component that will fetch the Markdown files and render them as blog posts. Add the following code:
import fs from 'fs'; import path from 'path'; import matter from 'gray-matter'; import { remark } from 'remark'; import html from 'remark-html'; export default function Blog({ posts }) { return ( <div> <h1>My Blog</h1> {posts.map((post) => ( <div key={post.slug}> <h2>{post.frontmatter.title}</h2> <p>{post.frontmatter.date}</p> <div dangerouslySetInnerHTML={{ __html: post.content }} /> </div> ))} </div> ); } export async function getStaticProps() { const postsDirectory = path.join(process.cwd(), 'posts'); const fileNames = fs.readdirSync(postsDirectory); const posts = await Promise.all( fileNames.map(async (fileName) => { const filePath = path.join(postsDirectory, fileName); const fileContent = fs.readFileSync(filePath, 'utf8'); const { data, content } = matter(fileContent); const processedContent = await remark().use(html).process(content); const contentHtml = processedContent.toString(); return { slug: fileName.replace(/\.md$/, ''),frontmatter: { ...data, date: data.date.toISOString(), // Convert date to string },content: contentHtml, }; }) ); return { props: { posts, }, }; }
Step 5: Styling the Blog Page Let’s add some basic styles to make our blog page look better. Create a new CSS file called blog.module.css in the styles directory and add the following code:
.container {
  max-width: 600px;
  margin: 0 auto;
  padding: 20px;
}

.post {
  margin-bottom: 20px;
}

.title {
  font-size: 24px;
  font-weight: bold;
}

.date {
  color: #888;
  font-size: 14px;
}

.content {
  margin-top: 10px;
}
Update the Blog component in blog.js to include the CSS classes:
import styles from '../styles/blog.module.css';

// ...

export default function Blog({ posts }) {
  return (
    <div className={styles.container}>
      <h1>My Blog</h1>
      {posts.map((post) => (
        <div key={post.slug} className={styles.post}>
          <h2 className={styles.title}>{post.frontmatter.title}</h2>
          <p className={styles.date}>{post.frontmatter.date}</p>
          <div
            className={styles.content}
            dangerouslySetInnerHTML={{ __html: post.content }}
          />
        </div>
      ))}
    </div>
  );
}
Step 6: Running the Application Finally, let’s run our Next.js application and see our blog in action. Run the following command:
npm run dev
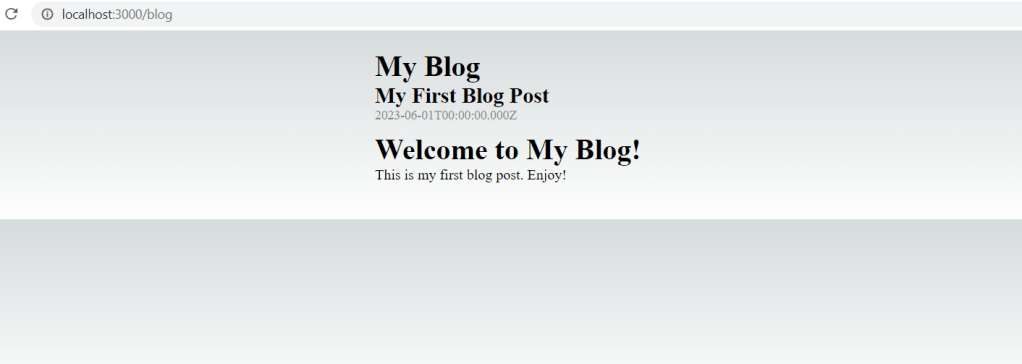
Visit http://localhost:3000/blog in your browser, and you should see your blog with the first post displayed.
Conclusion
In this tutorial, we learned how to build a blog using Next.js and Markdown. We covered the steps to set up a Next.js project, parse Markdown files, and render them as blog posts. We also added basic styling to enhance the appearance of our blog. With this foundation, you can expand the blog functionality by adding features like pagination, category filtering, and commenting. Happy blogging!
I hope this detailed tutorial helps you build a blog using Next.js and Markdown. Feel free to customize and extend the code to suit your specific needs.