In this tutorial, we are going to use the angular and bootstrap to build an application.
We’ll be using angular to build the application and bootstrap to style the user interface.
You can get the source code of this tutorial from here.
Quick Access
You can get the source code of this tutorial from here.
To whom this tutorial?
If you are already familiar with the Angular framework. This tutorial will be a step by step process on how to add bootstrap style to your application.
If you are a beginner, this post will be an introduction session. – on how to create an angular application with angular CLI. And add bootstrap style to your application.
What is angular?
A framework for building client application in HTML, CSS and JavaScript/TypeScript.
Why Angular?
Why do we need to learn Angular? We can do the same in JavaScript or jQuery. Yes, we can complete most of the tasks using jQuery.
When the application becomes complex requirements, jQuery becomes hard to maintain the code.
We have lots of design patterns for JavaScript, but it’s hard for a beginner to start with design patterns.
When we create large complex applications using jQuery – it becomes hard to test. To make life easier a lot of frameworks arrived in the programming world to help the programmers.
Setting up the Environment
A quick start tool always helps the developer to save their valuable time.
And use those times in an efficient way of improving the quality of the application.
Angular provides us Angular CLI – which is a command-line interface tool.
Angular CLI can help to
- create a project
- add files
- perform a variety of ongoing development tasks
- testing
- bundling
- deployment
Using this CLI, we can create apps with a working condition that uses best practices suggested by Angular Team.
To create an Angular application using Angular CLI, all we need is to follow the below steps:
1. Install Node js and npm on your machine
Visit Node.js web page and download the installer. Once you’ve installed nodejs, the npm will get installed along with it.
2. Verify the compatible version
Angular CLI requires the minimal version of node and npm. But feel free to install the latest edition to explore the latest features.
We can check the version of the node and npm using the following commands.
node -v
npm -v
3. Install Angular CLI
Run the following command to install Angular CLI globally.
npm install -g @angular/cli
-g flag is used to install the package globally in the npm.
Once we installed CLI globally, we can confirm whether the tool installed by using the following command.
ng -v
Angular CLI
Angular CLI is one of the best tools available for angular.To set up the initial files or scaffolding structure of the application.
Setup
Once you have set up the basic software like node.js and npm. You can download CLI using the following command
npm install -g @angular/cli
Once installed we can check the version of angular CLI using the following command
ng version
One common argument every CLI has is help command. Here it is for you
ng help
Create a new Angular App
From your target empty folder, you need to run the following command to generate the basic files
ng new ng-bootstrap-demo
Make sure to replace ‘ng-bootstrap-demo’ with the name you prefer. This is will your application name.
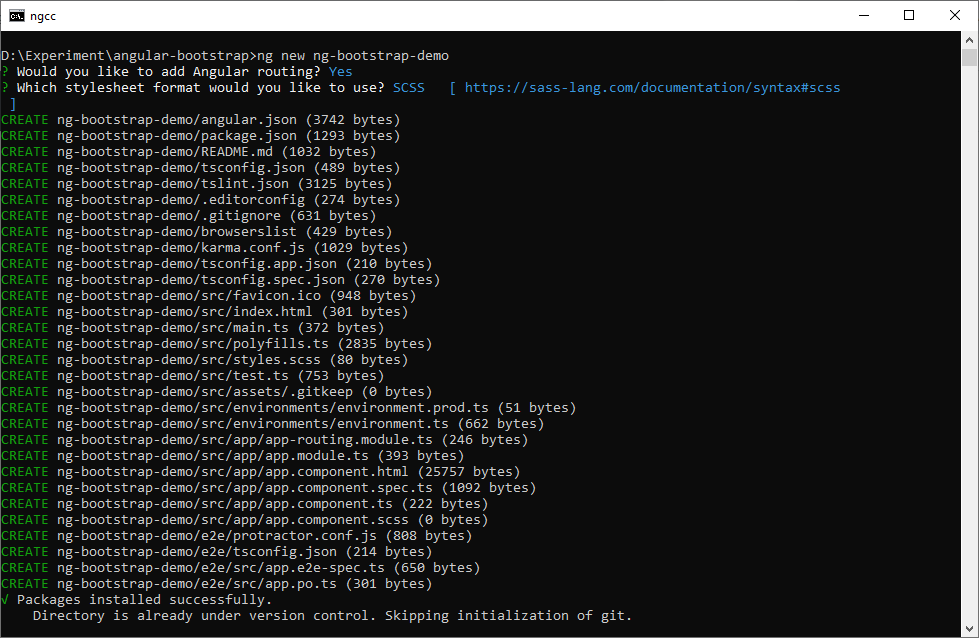
Angular CLI has lots of other options to help in setting the basic to advance files.
The CLI asks us to choose our required options based on our needs. Like routing and stylesheet type.
After installing the package, we are good to go with the debugging the new application.
You can check out some of our other posts related to angular CLI
Serving the project
Angular CLI provides a complete tool-chain for developing front-end apps.
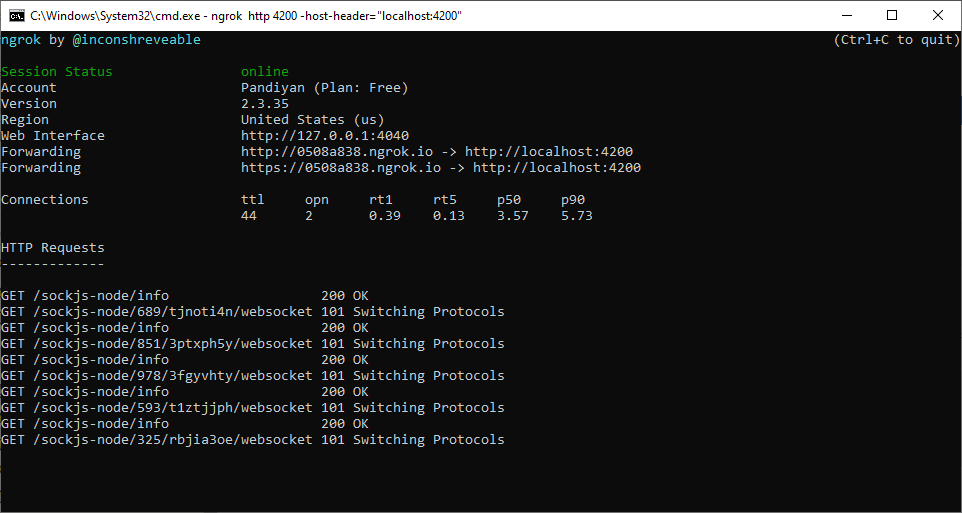
As such, you don’t need to install a local server to serve your project.You can simply, use the ng serve command from your terminal to serve your project locally.
ng serve
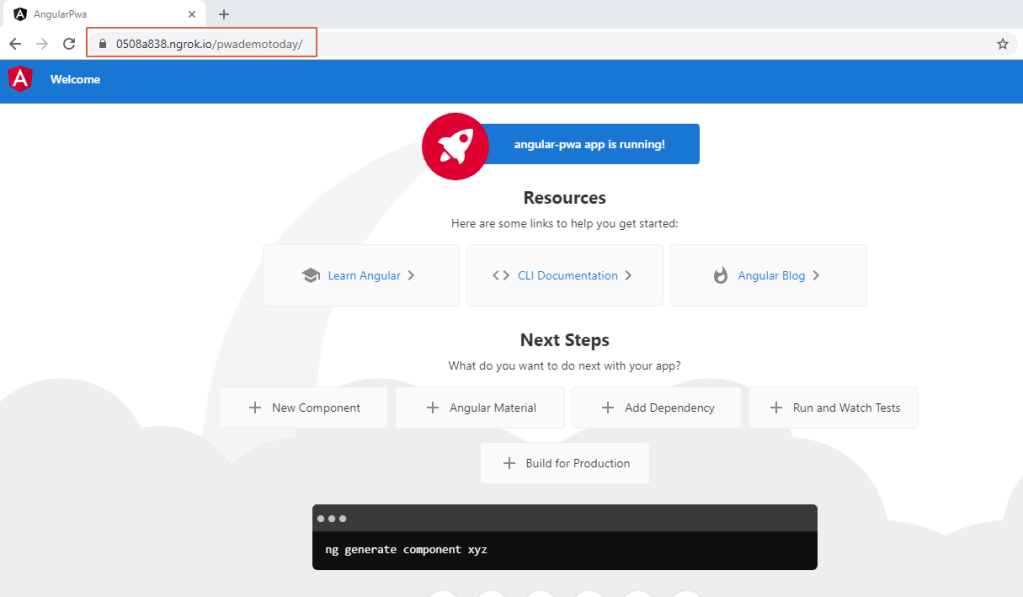
The application will start serving in the root http://localhost:4200

The default code provides following output

Adding Bootstrap to angular application
What is Bootstrap?
Bootstrap is a free and open-source CSS framework directed at responsive, mobile-first front-end web development.
It contains CSS- and JavaScript-based design templates for typography, forms, buttons, navigation, and other interface components.
We are going to use bootstrap in this tutorial but in a different way.
We’ll be using ng-bootstrap.
Angular widgets built from the ground up using only Bootstrap 4 CSS with APIs designed for the Angular ecosystem. No dependencies on 3rd party JavaScript.
Installation of ng-bootstrap
Before installing ng-bootstrap, let’s install bootstrap from npm.
Install bootstrap
npm install bootstrap
Add Bootstrap CSS or SCSS to your project
/* update your 'styles.css' with */
@import '~bootstrap/dist/css/bootstrap.css';


/* or your 'styles.scss' with */
@import "~bootstrap/scss/bootstrap";
The good news is we don’t have to add any bootstrap js to make an application now.
This is where ng-bootstrap comes into picture.
The goal of ng-bootstrap is to completely replace JavaScript implementation for components. Nor should you include other dependencies like jQuery or popper.js. It is not necessary and might interfere with ng-bootstrap code.
Add ng-bootstrap
Installing from npm
npm install @ng-bootstrap/ng-bootstrap
Add ng-bootstrap module to main module
Once installed you need to import ng-bootstrap main module and you’re good to go
import { BrowserModule } from '@angular/platform-browser';
import { NgModule } from '@angular/core';

import { AppRoutingModule } from './app-routing.module';
import { AppComponent } from './app.component';

import { NgbModule } from "@ng-bootstrap/ng-bootstrap";

@NgModule({
  declarations: [
    AppComponent
  ],
  imports: [
    BrowserModule,
    AppRoutingModule,
    NgbModule
  ],
  providers: [],
  bootstrap: [AppComponent]
})
export class AppModule { }
Alternatively you could only import modules with components you need, ex. pagination and alert. The resulting bundle will be smaller in this case.
import {NgbPaginationModule, NgbAlertModule} from '@ng-bootstrap/ng-bootstrap';

@NgModule({
  ...
  imports: [NgbPaginationModule, NgbAlertModule, ...],
  ...
})
export class YourAppModule {
}
All set!
We have added all basic needs of using bootstrap with angular.
Now let’s add some bootstrap components into application.
You can view the sample component in this documentation page.
Let’s Experiment
Lets add carousel component from ng-bootstrap.
Carousel
The Carousel component allows you to a display a selection of rotating images with a title, brief description and link to an associated story, event, program or project page elsewhere in your site.
Right now, app component contains default code generated by the CLI.
We are going to replace that code with carousel code as follows
<div class="container-fluid">
  <ngb-carousel *ngIf="images">
    <ng-template ngbSlide>
      <div class="picsum-img-wrapper">
        <img [src]="images[0]" alt="Random first slide">
      </div>
      <div class="carousel-caption">
        <h3>First slide label</h3>
        <p>Nulla vitae elit libero, a pharetra augue mollis interdum.</p>
      </div>
    </ng-template>
    <ng-template ngbSlide>
      <div class="picsum-img-wrapper">
        <img [src]="images[1]" alt="Random second slide">
      </div>
      <div class="carousel-caption">
        <h3>Second slide label</h3>
        <p>Lorem ipsum dolor sit amet, consectetur adipiscing elit.</p>
      </div>
    </ng-template>
    <ng-template ngbSlide>
      <div class="picsum-img-wrapper">
        <img [src]="images[2]" alt="Random third slide">
      </div>
      <div class="carousel-caption">
        <h3>Third slide label</h3>
        <p>Praesent commodo cursus magna, nisl consectetur.</p>
      </div>
    </ng-template>
  </ngb-carousel>
</div>
Carousels needs some images to display.
So we are going to pass the image Urls from app.compnent.ts
export class AppComponent {
  images = [944, 1011, 984]
    .map(
      (n) => `https://picsum.photos/id/${n}/1366/600`
    );
}
You can see the demo here – https://parigygap.github.stackblitz.io/
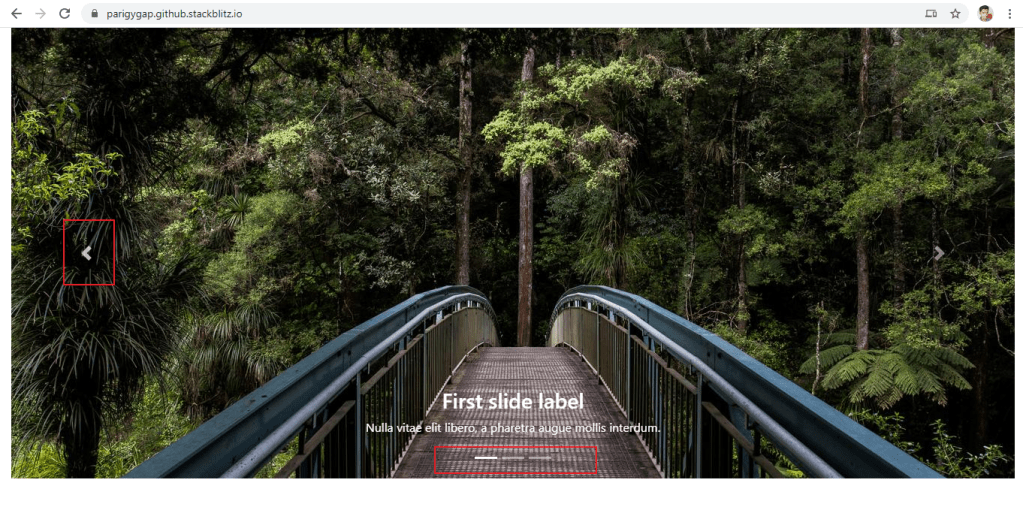
The output will look like the above.
The carousel will have controls to switch to next image as show in diagram.
The main reason behind using ng-bootstrap is – we don’t have write any scripts to perform these operations.
Tabset
This is a default tabset.
We can swtich between content and even disable content based on needs.
<ngb-tabset [destroyOnHide]="false">
  <ngb-tab title="Simple">
    <ng-template ngbTabContent>
      <p>Raw denim you probably haven't heard of them jean shorts Austin. Nesciunt tofu stumptown aliqua, retro synth
      master cleanse. Mustache cliche tempor, williamsburg carles vegan helvetica. Reprehenderit butcher retro keffiyeh
      dreamcatcher synth. Cosby sweater eu banh mi, qui irure terry richardson ex squid. Aliquip placeat salvia cillum
      iphone. Seitan aliquip quis cardigan american apparel, butcher voluptate nisi qui.</p>
    </ng-template>
  </ngb-tab>
  <ngb-tab>
    <ng-template ngbTabTitle><b>Fancy</b> title</ng-template>
    <ng-template ngbTabContent>Food truck fixie locavore, accusamus mcsweeney's marfa nulla single-origin coffee squid.
      <p>Exercitation +1 labore velit, blog sartorial PBR leggings next level wes anderson artisan four loko farm-to-table
      craft beer twee. Qui photo booth letterpress, commodo enim craft beer mlkshk aliquip jean shorts ullamco ad vinyl
      cillum PBR. Homo nostrud organic, assumenda labore aesthetic magna delectus mollit. Keytar helvetica VHS salvia
      yr, vero magna velit sapiente labore stumptown. Vegan fanny pack odio cillum wes anderson 8-bit, sustainable jean
      shorts beard ut DIY ethical culpa terry richardson biodiesel. Art party scenester stumptown, tumblr butcher vero
      sint qui sapiente accusamus tattooed echo park.</p>
    </ng-template>
  </ngb-tab>
  <ngb-tab title="Disabled" [disabled]="true">
    <ng-template ngbTabContent>
      <p>Sed commodo, leo at suscipit dictum, quam est porttitor sapien, eget sodales nibh elit id diam. Nulla facilisi. Donec egestas ligula vitae odio interdum aliquet. Duis lectus turpis, luctus eget tincidunt eu, congue et odio. Duis pharetra et nisl at faucibus. Quisque luctus pulvinar arcu, et molestie lectus ultrices et. Sed diam urna, egestas ut ipsum vel, volutpat volutpat neque. Praesent fringilla tortor arcu. Vivamus faucibus nisl enim, nec tristique ipsum euismod facilisis. Morbi ut bibendum est, eu tincidunt odio. Orci varius natoque penatibus et magnis dis parturient montes, nascetur ridiculus mus. Mauris aliquet odio ac lorem aliquet ultricies in eget neque. Phasellus nec tortor vel tellus pulvinar feugiat.</p>
    </ng-template>
  </ngb-tab>
</ngb-tabset>
Tabset Output

Date Picker
A simple picker requires lots of code when we are using basic HTML and Javscript.
Modern frameworks reduces a lots of code by introducing reusable components.
<h3>Date picker</h3>

  <p>Simple datepicker</p>

  <ngb-datepicker #dp
    [(ngModel)]="model"
    (navigate)="date = $event.next"></ngb-datepicker>

  <hr />

  <button class="btn btn-sm btn-outline-primary mr-2"
    (click)="selectToday()">
    Select Today
  </button>
  <button class="btn btn-sm btn-outline-primary mr-2"
    (click)="dp.navigateTo()">To current month</button>
  <button class="btn btn-sm btn-outline-primary mr-2"
    (click)="dp.navigateTo({year: 2013, month: 2})">To Feb
    2013</button>

  <hr />

  <pre>Month: {{ date.month }}.{{ date.year }}</pre>
  <pre>Model: {{ model | json }}</pre>
import { Component } from '@angular/core';
import { NgbDateStruct, NgbCalendar } from '@ng-bootstrap/ng-bootstrap';

@Component({
  selector: 'app-root',
  templateUrl: './app.component.html',
  styleUrls: ['./app.component.scss']
})

export class AppComponent {

  model: NgbDateStruct;
  date: { year: number, month: number };

  constructor(private calendar: NgbCalendar) {
  }

  selectToday() {
    this.model = this.calendar.getToday();
  }
}
Date picker demo

Thanks for reading.
Happy Coding!