I’m really excited about learning Angular 4. Whenever I started to learn some new technologies, all I do is making a quick start on something immediately. In this post, we are going to discuss how to setup development environment and create an initial angular app.
Whenever I’m creating a new application, I always prefer some standard folder structure or use file generator like Yeoman.
OK, that’s all about the base story. A quick start tool always helps the developer to save their valuable time and use those time efficient way on improving the quality of the application.
Angular provides us Angular CLI which is a command line interface tool that can create a project, add files, and perform a variety of ongoing development tasks such as testing, bundling, and deployment.
Using this CLI, we can create apps with a working condition which uses best practices suggested by Angular Team.
To create an Angular application using Angular CLI, all we need is to follow the below steps:
1. Install Node js and npm on your machine.
Visit Node.js web page and download installer. Once you’ve installed nodejs, the npm will get installed along with it.
2. Verify the compatible version
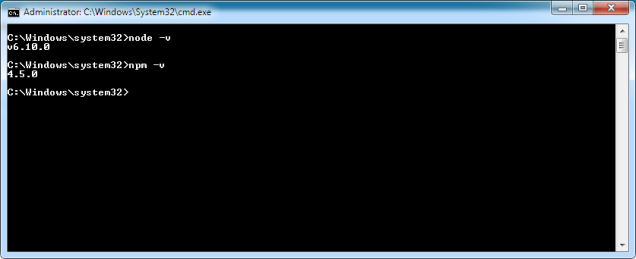
Angular CLI requires the minimal version of node 6.9.x and npm 3.x.x.
We can check the version of node and npm using following commands.
node -v
npm -v
3. Install Angular CLI
Run the following command to install Angular CLI globally.
npm install -g @angular/cli
-g flag is used to install the package globally in the npm.
Once we installed CLI globally, we can confirm whether the tool installed successfully by using the following command.
ng -v
4. Create a project
Now, creating a project becomes very simple. We have to run following command,
ng new cool-app
- cool-app is the name of the project.

Once the files has been created, the CLI will start installing npm packages automatically. Wait until the packages getting installed, it will take a bit of time to complete the process.
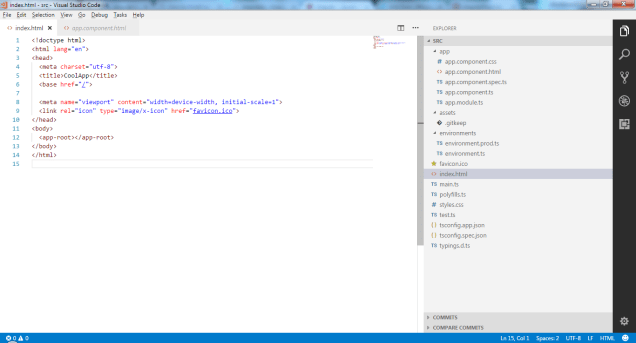
The folder and file structure will looks as follows
5. Serve the application
Once the dependencies are installed, traverse to the created projected and serve the application using the following commands.
cd cool-app
ng serve –open
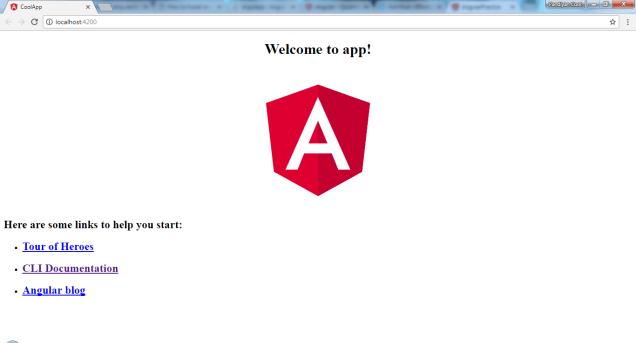
The ng serve command launches the server, watches your files, and rebuilds the app as you make changes to those files.
Using the –open (or just -o) option will automatically open your browser on http://localhost:4200/.
The default page will gets open with the greeting message.
We can edit the source further based our needs, I’m planning to write series of posts on Angular 4 in upcoming day.
Stay connected and Keep supporting. 🙂
Happy Coding!

One thought on “Getting started with Angular 4”