Internationalization is the process of designing and preparing your app to be usable in different languages.
Localization is the process of translating your internationalized app into specific languages for particular locales.
Internalization in angular
Angular simplifies the following aspects of internationalization:
Displaying dates, numbers, percentages, and currencies in a local format. Preparing text in component templates for translation. Handling plural forms of words. Handling alternative text. You can find the official technical documentation of the current major version of angular here .
What’s new in angular 9?
Currently, Angular 9 is in the release candidate version .
Angular provides the option to explore the upcoming version to the users.
The official documentation of next-gen release can be found here .
Earlier to angular 9, let’s say angular less than version 8.
The internalization implementation isn’t straight forward or easy to go implementation.
npm tools
So, We need the support of a third party plugin to achieve the concepts. Popular plugins for il8n(Internationalization) are
However, angular 9 brings the power of il8n in it and makes it easy to implement and use.
How to add il8n?
Now, the angular CLI supports the option to add the localize option in our project
ng add @angular/localize
Once we have run the above command in our project, the CLI will add necessary dependencies to the project.
And it adds following the entry into the polyfills.ts
import ‘@angular/localize/init’
Then we need to configure the angular.json
{
  "$schema": "./node_modules/@angular/cli/lib/config/schema.json",
  "version": 1,
  "newProjectRoot": "projects",
  "projects": {
    "angular-localize": {
      "projectType": "application",

      "i18n": {
        "locales": {
          "fr":"messages.fr.xlf" ,
          "tm": "messages.tm.xlf"
        }
      },
      "schematics": {
        "@schematics/angular:component": {
          "style": "scss"
        }
      },
      "root": "",
      "sourceRoot": "src",
      "prefix": "app",
      "architect": {
        "build": {
          "builder": "@angular-devkit/build-angular:browser",
          "options": {
            "outputPath": "dist/angular-localize",
            "index": "src/index.html",
            "main": "src/main.ts",
            "polyfills": "src/polyfills.ts",
            "tsConfig": "tsconfig.app.json",
            "aot": true,
            "assets": [
              "src/favicon.ico",
              "src/assets"
            ],
            "styles": [
              "src/styles.scss"
            ],
            "scripts": []
          },
          "configurations": {
            "production": {
              "fileReplacements": [
                {
                  "replace": "src/environments/environment.ts",
                  "with": "src/environments/environment.prod.ts"
                }
              ],
              "optimization": true,
              "outputHashing": "all",
              "sourceMap": false,
              "extractCss": true,
              "namedChunks": false,
              "extractLicenses": true,
              "vendorChunk": false,
              "buildOptimizer": true,
              "budgets": [
                {
                  "type": "initial",
                  "maximumWarning": "2mb",
                  "maximumError": "5mb"
                },
                {
                  "type": "anyComponentStyle",
                  "maximumWarning": "6kb",
                  "maximumError": "10kb"
                }
              ]
            },
            "fr": {
              "localize": ["fr"]
            },
            "tm": {
              "localize": ["tm"]
            }
          }
        },
        "serve": {
          "builder": "@angular-devkit/build-angular:dev-server",
          "options": {
            "browserTarget": "angular-localize:build"
          },
          "configurations": {
            "production": {
              "browserTarget": "angular-localize:build:production"
            },
            "fr": {
              "browserTarget": "angular-localize:build:fr"
            },
            "tm": {
              "browserTarget": "angular-localize:build:tm"
            }
          }
        },
        "extract-i18n": {
          "builder": "@angular-devkit/build-angular:extract-i18n",
          "options": {
            "browserTarget": "angular-localize:build"
          }
        },
        "test": {
          "builder": "@angular-devkit/build-angular:karma",
          "options": {
            "main": "src/test.ts",
            "polyfills": "src/polyfills.ts",
            "tsConfig": "tsconfig.spec.json",
            "karmaConfig": "karma.conf.js",
            "assets": [
              "src/favicon.ico",
              "src/assets"
            ],
            "styles": [
              "src/styles.scss"
            ],
            "scripts": []
          }
        },
        "lint": {
          "builder": "@angular-devkit/build-angular:tslint",
          "options": {
            "tsConfig": [
              "tsconfig.app.json",
              "tsconfig.spec.json",
              "e2e/tsconfig.json"
            ],
            "exclude": [
              "**/node_modules/**"
            ]
          }
        },
        "e2e": {
          "builder": "@angular-devkit/build-angular:protractor",
          "options": {
            "protractorConfig": "e2e/protractor.conf.js",
            "devServerTarget": "angular-localize:serve"
          },
          "configurations": {
            "production": {
              "devServerTarget": "angular-localize:serve:production"
            }
          }
        }
      }
    }},
  "defaultProject": "angular-localize"
}
The angular package provides an option called $localize which can be used in the component
export class AppComponent {
  title = $localize`angular-localize`;
}
Adding language files
When the application process $localize, it will look for the translated or il8n text the target text in the locale file.
The locale files are configured in the angular.json already.
Let’s explore that file now.
<?xml version="1.0" encoding="UTF-8" ?>
<xliff version="1.2" xmlns="urn:oasis:names:tc:xliff:document:1.2">
  <file source-language="en-US" datatype="plaintext" original="ng2.template">
    <body>
    <trans-unit id="8298328021206315701">
  <source>angular-localize</source>
  <target>Bonjour</target>
</trans-unit>
    </body>
  </file>
</xliff>
<?xml version="1.0" encoding="UTF-8" ?>
<xliff version="1.2" xmlns="urn:oasis:names:tc:xliff:document:1.2">
  <file source-language="en-US" datatype="plaintext" original="ng2.template">
    <body>
    <trans-unit id="3902961887793684628">
  <source>hello</source>
  <target>வணக்கம்</target>
</trans-unit>
    </body>
  </file>
</xliff>
Here, we two files to support two locales. And it has been stored in xlf format.
XLF is an XML localization file format.
Running application
ng serve
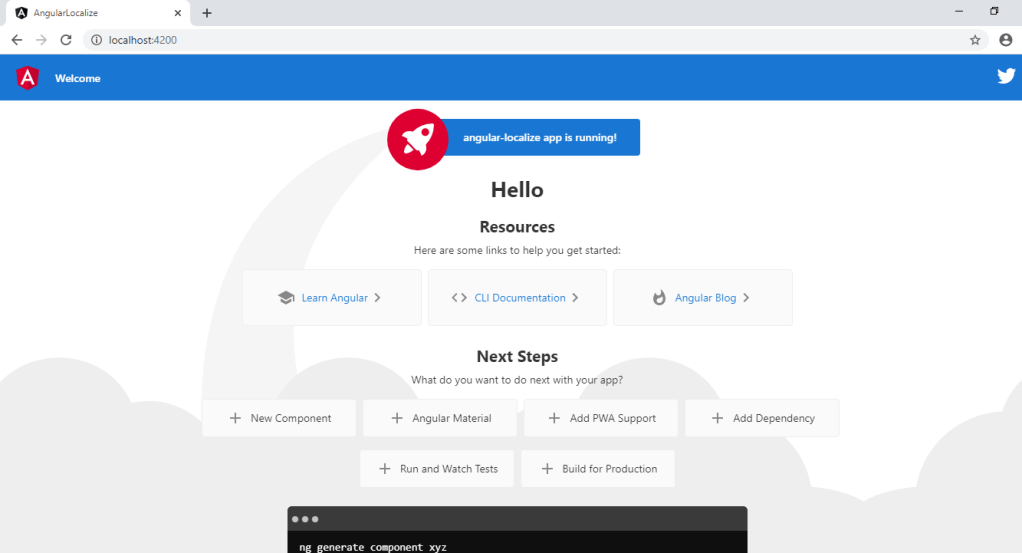
The above picture shows the default text from the application.
Now let’s run the custom command to point it to french language and see the output.
ng serve –configuration=fr
Therefore the word angular-localise is changed into Bonjour based on the language we have configured.
In conclusion, we can configure N number of languages and host it based on needs.
Disclaimer
Finally, Few things need to be done while experimenting with the above code.
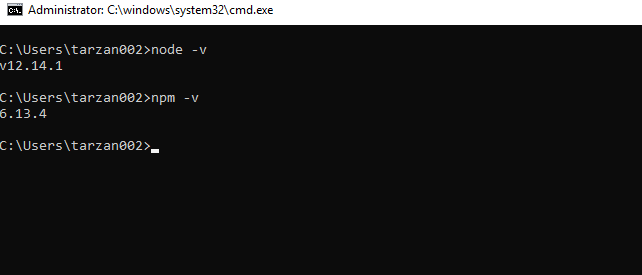
Since this package is supported in angular 9 we need to maintain a matching node environment to experiment with the code. And you can find the entire source code in this GitHub Repository.
Happy Coding!