Open Visual studio

To create a new project
Select from menu bar File > New

Select New Project option
Select from menu bar File > New > Project
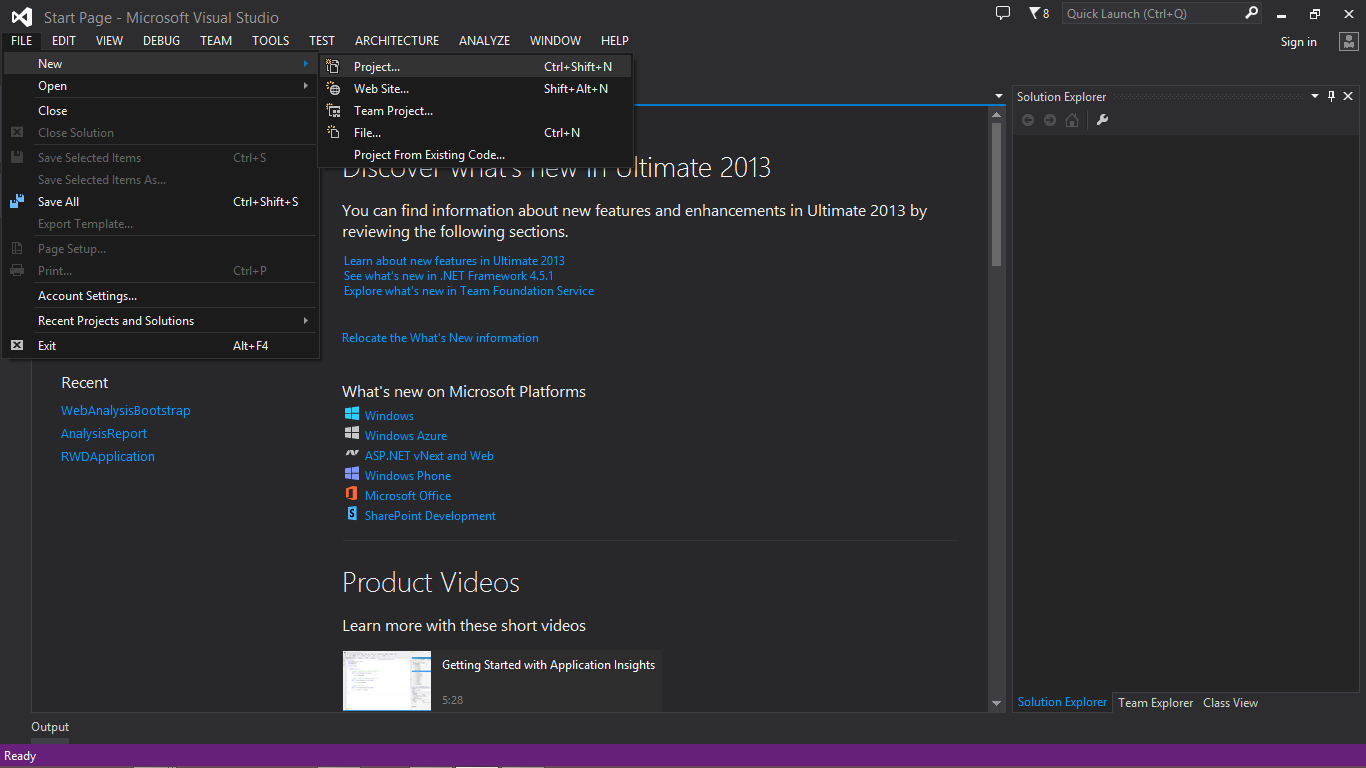
Select Visual C# from templates from the sidebar
Templates > Visual C#

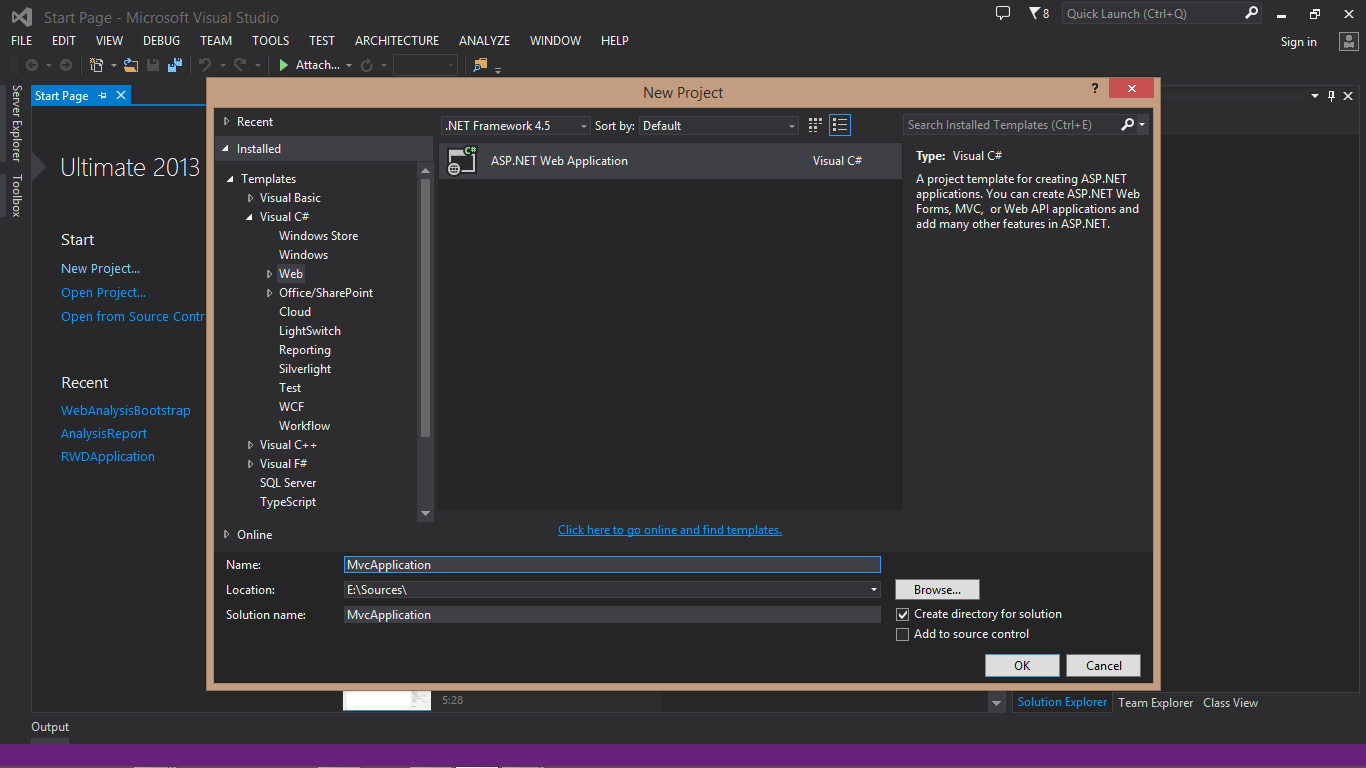
Select Web option from visual c# to create web application
Visual C# > Web

In the middle bar you can find ASP .NET Web Application template Select the template
Choose the project name and solution name which you wish and select target file location to save project files
Select OK to continue process project creation
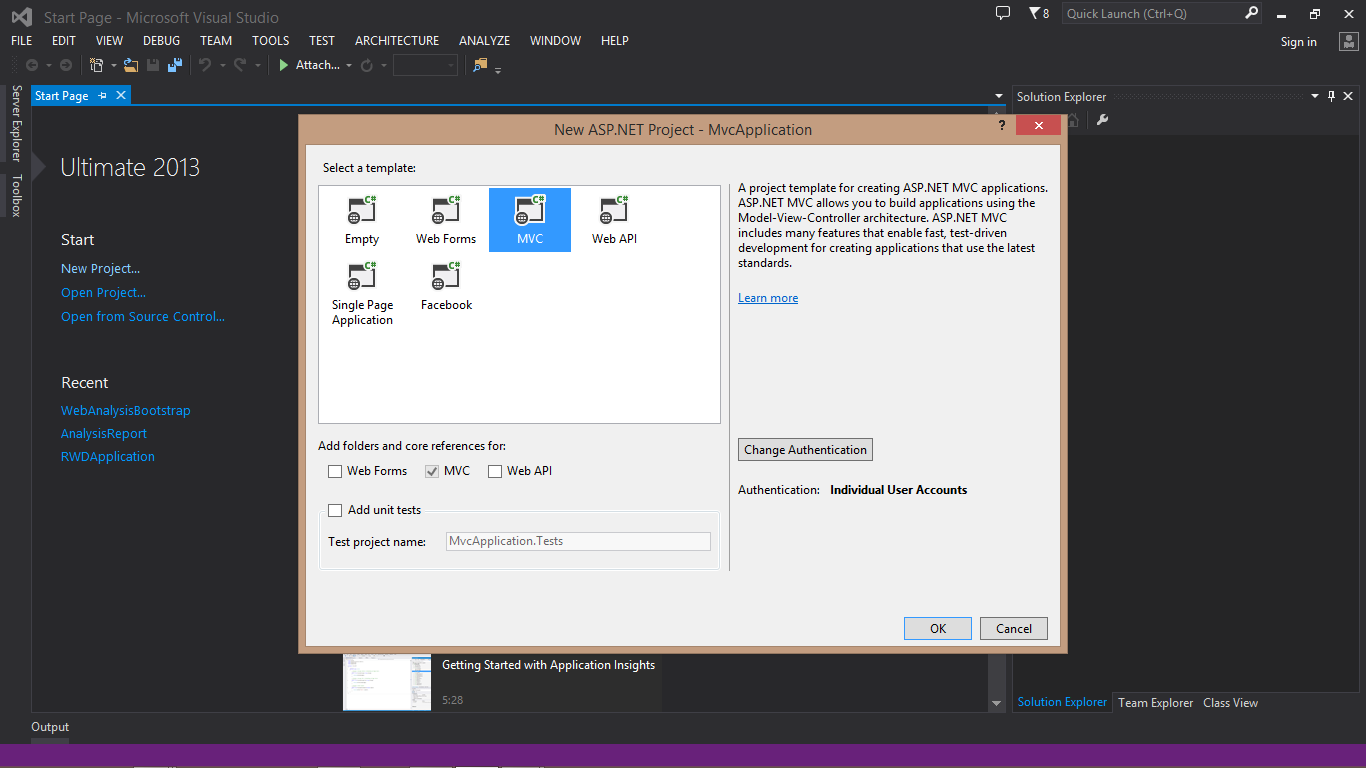
Select MVC template from the template options, make sure MVC option is selected in check box
And then select OK to continue
Project directories are getting created

Now the project directories are generated with basic files needed to run application

Select Internet Explorer or preferred browser from the option to debug & run the application
Press F5 or press button with name browser name to debug application

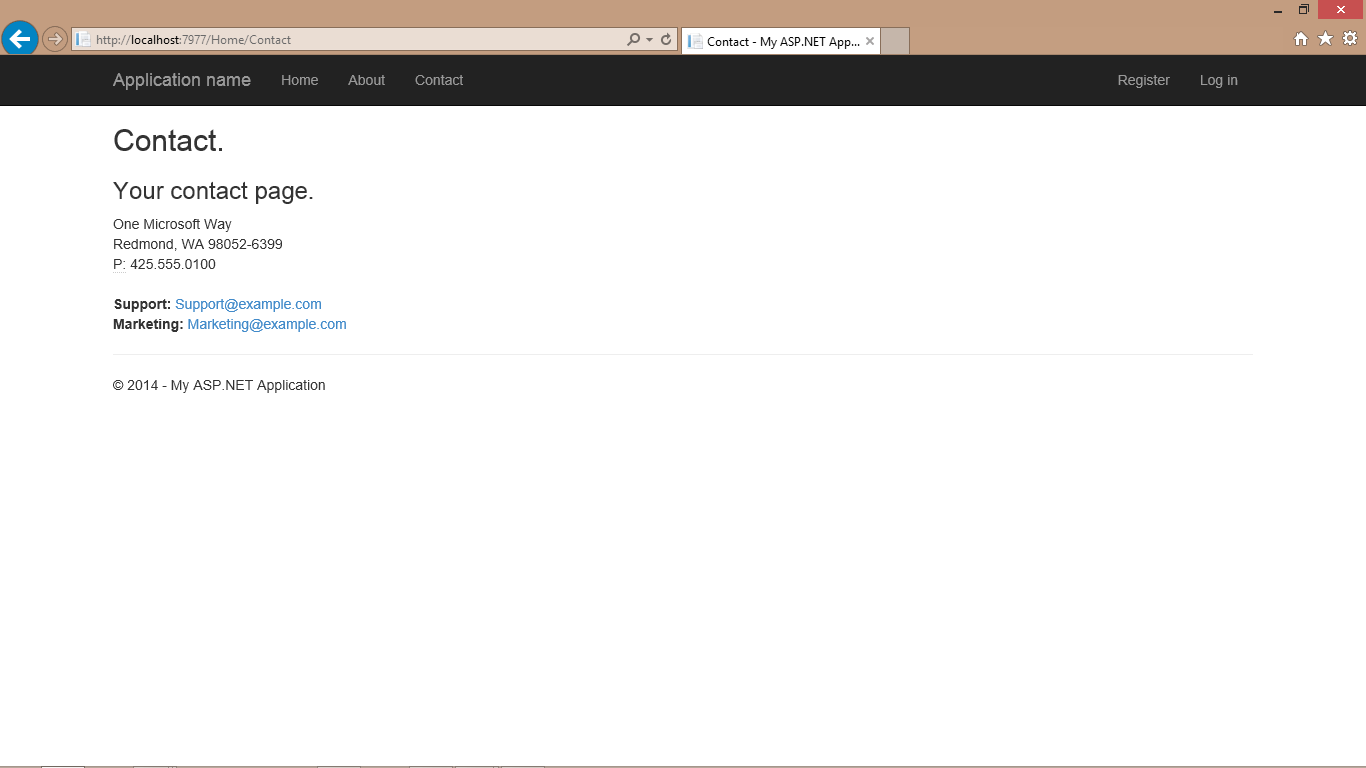
Initial application will looks as follows, we can customize further as we want
Homepage

Sub pages
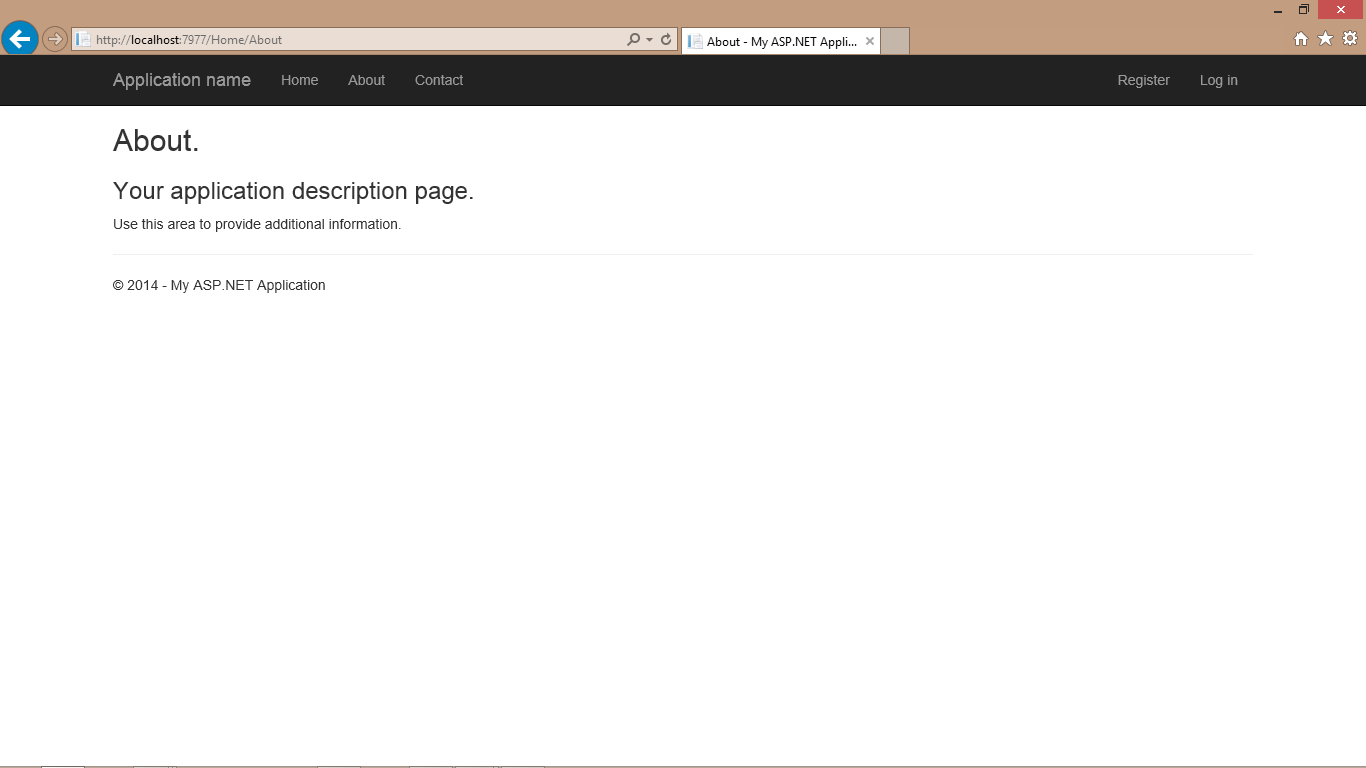
Login features


We can customize the further in styling as well functionality from these templates.

Good info
LikeLiked by 1 person